The service enables the sharing of printing resources such as a networked colour printer or networked scanner/fax that has printing facilities amongst authorised users who are joined to the SMU network. Users may print via the Print Queue from their desktops or wirelessly via their notebooks.
Faculty and staff may print to any of the department/office printing resources within SMU as long as these resources are connected to the SMU network (standalone printers do not apply) and they are authorised or granted the access to link to/print from the printer.
How to setup network printer(s)?
Please follow the steps below to setup printer on your machine.
Before you proceed to installation steps, please ensure you are connected to the SMU network, e.g. WLAN-SMU.
Please check which network printer is available in your department. You may check the designated printer’s IP address with your colleague.
Steps to install Printer manually on Windows 10 platform
Step 1: In the Search field, type \\print65 and press Enter.

Step 2: To locate the designated printer, you may search through the list. You can also search using the search function, at the top right-hand corner of the page.

Note: Most the printers are named after the school/dept short name. E.g. type SOA, LKCSB or etc at the Search box.
Step 3: Double-click on the designated printer item and it will start installing the printer’s driver.
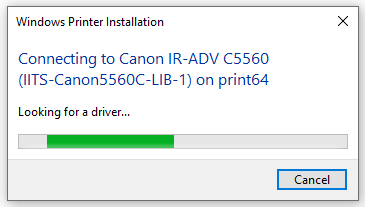
Note: If you are prompted for User Account Control, click “Yes” to continue the installation.
Step 4: Click "Printer" on your folder toolbar and select “Set As Default Printer” to set the printer as your computer's default printer. Then select “Printing Preferences…” to set
- the paper size to "A4"
- 2-sided printing

Please ensure you are connected to the SMU network, e.g. WLAN-SMU.
Please check which network printer is available in your department. You may check the designated printer’s IP address with your colleague.
Steps to install Printer manually on MacOS X platform
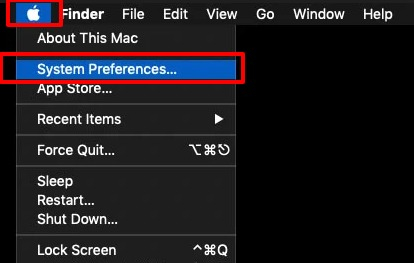
Step 1: Click on the “Apple Menu” in the upper left-hand corner of your screen and select “System Preferences…”.
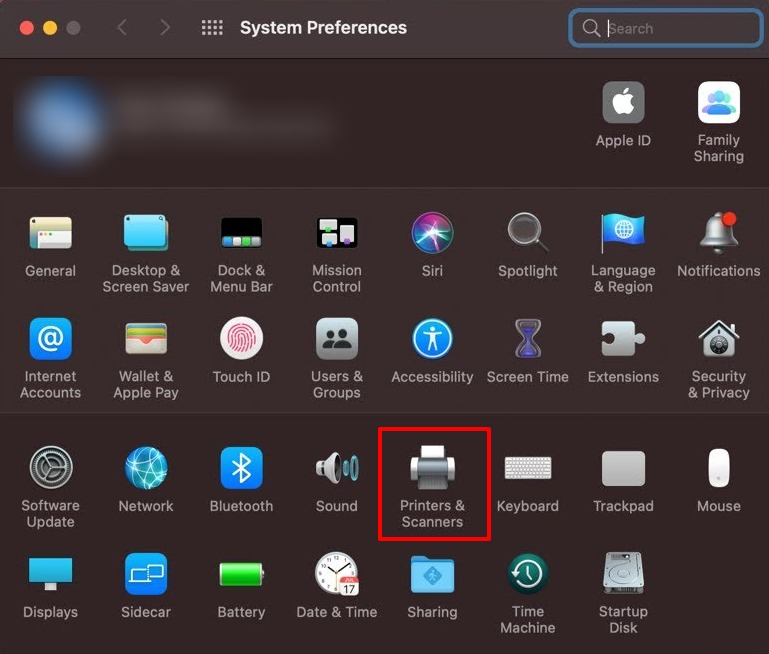
Step 2: Select “Printers & Scanners”.
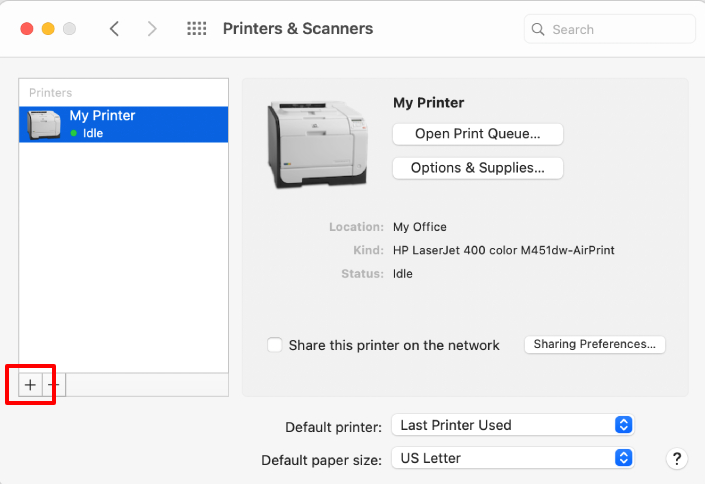
Step 3: Click on the "+" sign (lower left) to add a printer.
Step 4: On the top menu bar, select “IP”.

- Protocol field: select “Line Printer Daemon - LPD” from the droplist
- Address field: type the IP address of the printer
- Name field: enter a descriptive name for the printer (e.g. as in picture)
- Use: Select the appropriate software for the printer.
If the list is not available, please download the printer driver/software from the respective printer manufacturer:
Secure print feature ensures that only the person who print the document has access to the document.
When a print job is submitted , the printout will be stored temporarily at the printer and the document will only be printed when you key in the secure print pin code at the printer.
This feature is especially important for documents with confidential information as it prevents printed materials from being left unattended at the printer or missing.
We would recommend you choose the secure printing options when printing sensitive documents.
Use the step-by-step guide below to submit your print job via secure printing—select your printer’s brand first to view the corresponding instructions.
Support for standalone printers is restricted to Schools and departments, and to SMU acquired printers only. Funding and cost of repairs and replacements are to be borne by the respective Schools, departments and users.
Specification
The Printing Services as provided by IITS are specified as follows:
Staff Network Printing (Windows platform)
- Provide the coordination and setup services for new network printers, as well as relocation and troubleshooting of network printing problems.
- Requests may be made for other services relating to Staff Network Printing and Print Queue such as creation, deletion, adding and removing of user accesses via email (helpdesk@smu.edu.sg) at the IT Help Centre.
Terms of Use
Users of the Printing Services as provided by IITS are to abide by the following terms of use:
Staff Network Printing (Windows platform)
- The above service by IITS is only applicable to network-enabled models of printers only (standalone printers do not apply), and IITS will not connect printers that are not compatible to run on the SMU networks.
- All new printer models must be installed or come provided with vendor certified Windows Server 2008 (2008R2) printer drivers. IITS will not be able to install these drivers as these drivers are specific to the particular model in question.
- A new Print Queue is required for any new networked or relocated printer to be shared.
- To apply for a new Print Queue, users are to provide the location and a list of user IDs that will be accessing the printer. The list of user IDs is required in order to restrict unauthorised printing to the printer. Users are requested to send the information at least 3 work working days in advance to IITS via IT Help Centre. Details can be obtained from IT Help Centre by email (helpdesk@smu.edu.sg).